Overview of Copycat Dairy Queen Ice Cream Cake
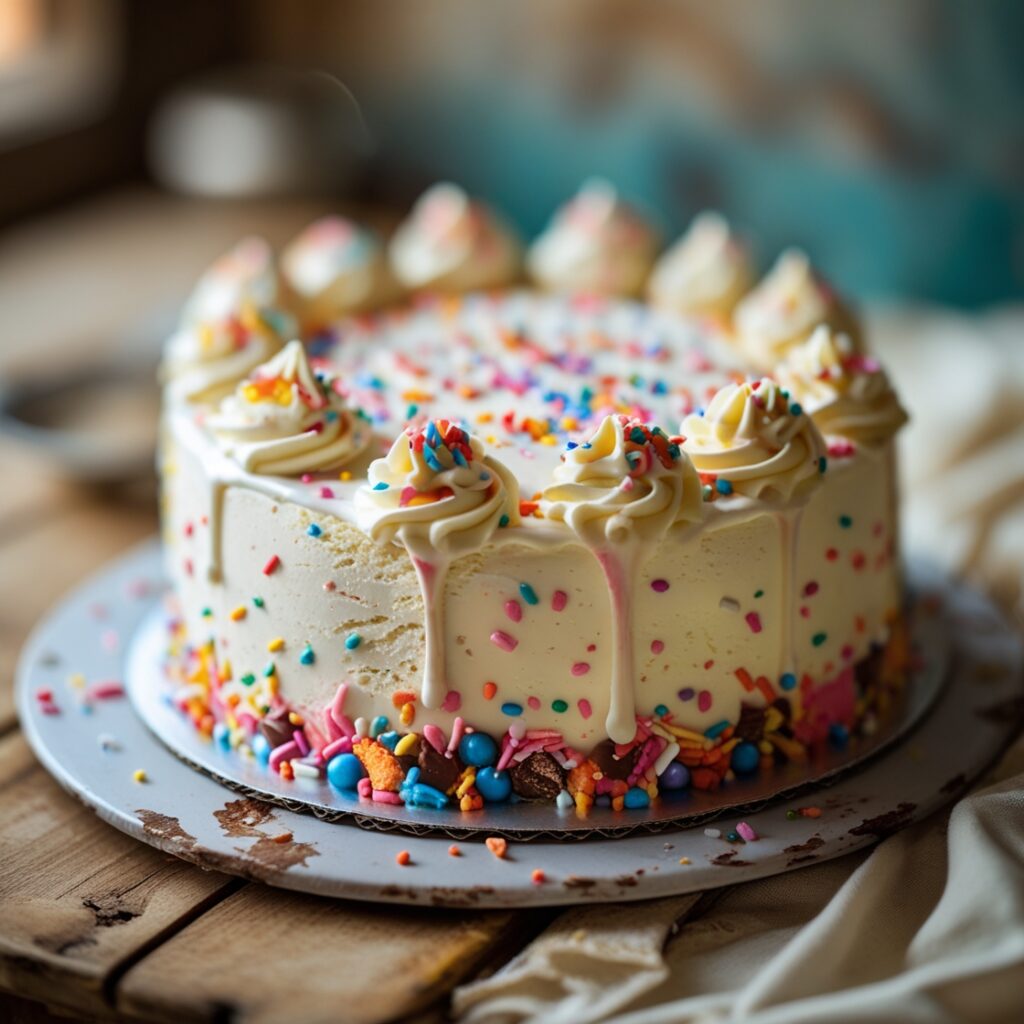
If you’re craving that delightful Dairy Queen ice cream cake but can’t make it to the store, don’t fret! This copycat version brings the joy of your favorite dessert right to your kitchen. Imagine layers of soft, creamy ice cream, chocolate crunchies, and fluffy whipped topping all coming together in a stunning cake. Best of all, you have the freedom to customize flavors, making it an even more personal treat.
History and Popularity of Dairy Queen Ice Cream Cake
The Dairy Queen Ice Cream Cake has a rich history, first introduced in the 1980s and quickly captivating taste buds across the nation. It became a staple for celebrations, birthdays, and casual family gatherings.
Some key points about its popularity:
- Convenient and Delicious: An easy choice for busy families.
- Memorable Celebrations: It’s often a centerpiece for birthday parties.
- Endless Flavor Combos: Chocolate, vanilla, and even cookie dough!
It’s no wonder that this delightful cake continues to be a favorite!
Ingredients and Equipment Needed
List of Ingredients
Now that you’re excited about creating your very own copycat Dairy Queen ice cream cake, it’s essential to gather the right ingredients. Here’s a simple list to get you started:
- Ice Cream: 2-3 pints of your favorite flavors (vanilla, chocolate, or cookies and cream)
- Chocolate Crunch Layer: 1 cup chocolate sandwich cookies, crushed
- Whipped Topping: 2 cups, for that signature fluffy finish
- Cake Layers: Optional: 1-2 layers of your favorite cake (chocolate or vanilla)
- Fudge or Caramel Sauce: To drizzle between layers and on top
Essential Equipment for Making the Cake
Having the right tools is crucial for success. You’ll need:
- Springform Pan: For easy removal of the cake
- Mixing Bowls: A variety of sizes for different layers
- Spatula: For spreading the whipped topping smoothly
- Ice Cream Scoop: To create perfect scoops and layers
With these ingredients and equipment at your fingertips, you’re well on your way to making a delicious ice cream cake!
Step-by-Step Instructions
Preparing the Cake Layers
Now that you have your ingredients and equipment ready, it’s time to dive into the fun part: making the layers! If you’re using cake, bake it according to the package instructions. Once cooled, slice the cake into even layers, about an inch thick. If you’re skipping the cake, go straight to the ice cream layers!
Assembling the Ice Cream Cake
This is where the magic happens! Here’s how to assemble:
- Layer One: Start with a layer of softened ice cream as your base. Spread it evenly.
- Crunch Layer: Sprinkle and press the crushed cookies on top.
- Repeat: Add another layer of ice cream, followed by any sauces you enjoy.
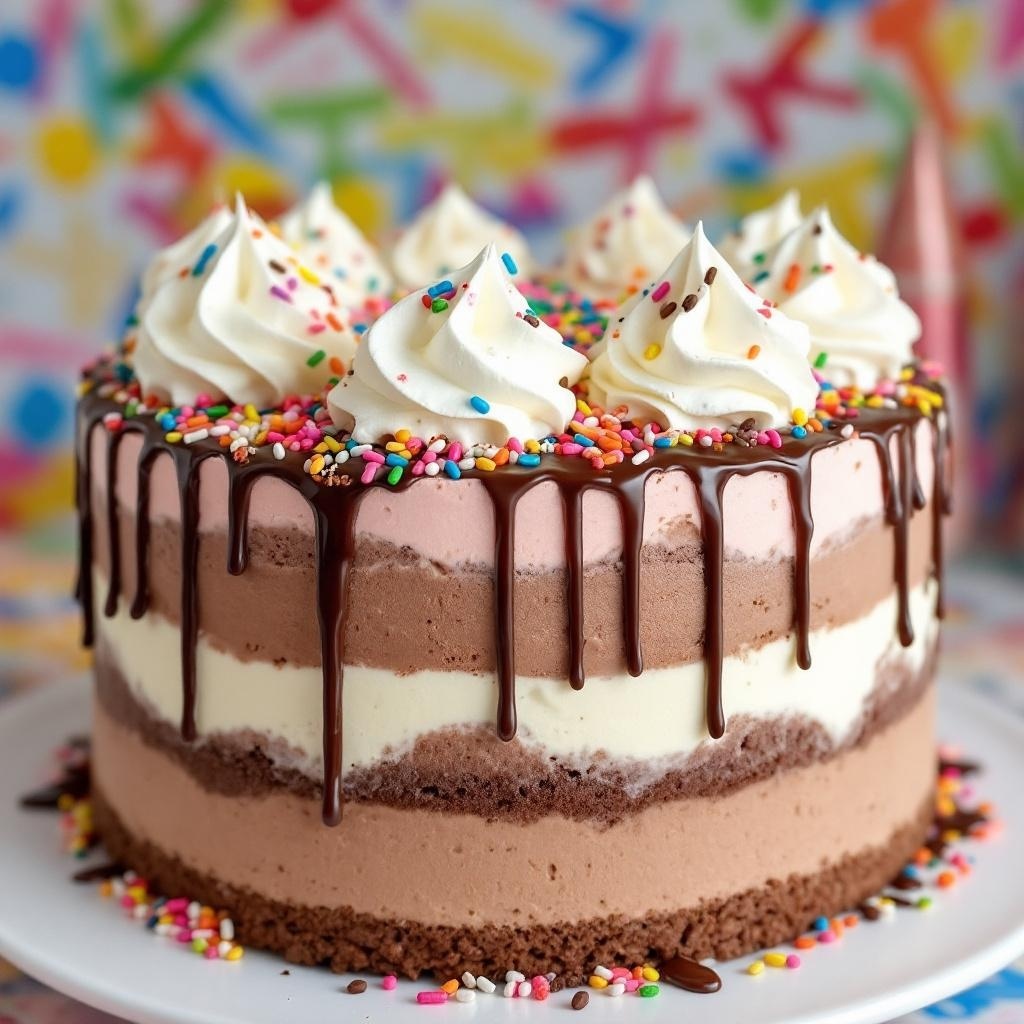
- Final Layer: Top it off with a final ice cream layer before smoothing the whipped topping over the cake.
Decorating and Serving Tips
Make your cake look as good as it tastes:
- Fun Toppings: Try adding mini chocolate chips or sprinkles on top.
- Presentation: Serve slices on colorful plates for a vibrant touch.
- Chill: Always let the cake sit in the freezer for at least 4 hours before serving for easy slicing.
Enjoy sharing your creation with family and friends!
Variations and Customization Ideas
Flavor Variations
The beauty of a copycat Dairy Queen ice cream cake lies in its versatility! Let your creativity shine by experimenting with different flavors. Here are a few fun ideas to consider:
- Mint Chocolate Chip: Swap in mint chip ice cream with a layer of crushed mint candies.
- Fruity Delight: Use strawberry or mango ice cream, topped with fresh fruit slices for a refreshing twist.
- Coffee Lovers: Coffee-flavored ice cream pairs wonderfully with chocolate cake layers for a rich, indulgent dessert.
Dietary Modifications and Substitutions
Don’t hesitate to customize this cake to fit dietary preferences! Here are some suggestions:
- Dairy-Free: Use coconut or almond-based ice cream and non-dairy whipped topping.
- Gluten-Free: Substitute regular cookies with gluten-free varieties.
- Lower Sugar: Select sugar-free ice cream and toppings to enjoy a lighter treat without sacrificing flavor.
With these variations, everyone can enjoy a delicious ice cream cake, tailored just for them!
Tips for Success
Troubleshooting Common Issues
Even the best bakers may encounter a few hiccups when making their ice cream cake. Here are some troubleshooting tips to help you overcome common challenges:
- Ice Cream Too Hard: If your ice cream is difficult to scoop, let it sit at room temperature for about 10 minutes to soften it.
- Layering Issues: If the ice cream layers are uneven, warm up a spatula with warm water to smooth them out.
- Melting Whipped Topping: Make sure your whipped topping is well chilled before applying it to prevent melting.
Storing and Serving Recommendations
To keep your masterpiece fresh, here are some storage tips:
- Freezing: Store leftovers in an airtight container or cover them with plastic wrap before freezing.
- Serving: Let the cake sit at room temperature for about 5-10 minutes before slicing for easier serving.
- Display: For a stunning presentation, garnish with fresh fruits or chocolate shavings right before serving!
With these tips in mind, you’ll be set for ice cream cake success!
Serving Suggestions and Pairings
Ideal Accompaniments
When it comes to serving your homemade ice cream cake, the right accompaniments can enhance the experience! Here are some delicious pairings to consider:
- Hot Fudge Sauce: A warm drizzle over the cake adds an irresistible contrast to the ice cream.
- Fresh Berries: Strawberries, raspberries, or blueberries can add a refreshing and fruity touch.
- Toasted Nuts: Sprinkle some crushed almonds or pecans for an extra crunch and nutty flavor.
Creative Presentation Ideas
Make your dessert the star of the table with these creative presentation ideas:
- Layered Slices: Serve each slice on a colorful plate, stacking layers of cake and ice cream for a vibrant look.
- Whipped Topping Borders: Pipe extra whipped topping around the edges of the serving platter for an elegant finish.
- Garnish: Use mint leaves or chocolate shavings as a garnish to elevate the cake’s visual appeal.
By implementing these suggestions, your ice cream cake will not only taste scrumptious but also look stunning!
Conclusion
Recap of Key Points
As you wrap up your journey in creating a delightful copycat Dairy Queen ice cream cake, it’s essential to revisit the highlights. We’ve covered how to:
- Gather the right ingredients and equipment.
- Layer and assemble your cake with ice cream and scrumptious toppings.
- Customize flavors and adapt the recipe to fit dietary preferences.
These steps ensure that every detail is considered for a fantastic dessert experience.
Final Thoughts and Recommendations
Creating your ice cream cake can be a fun and rewarding experience. Don’t hesitate to experiment with flavors and decorations—personal touches make it even more special! Consider involving your family or friends in the process; it can turn into a delightful bonding activity.
Remember, the joy of this cake lies not just in its taste, but in the memories created while making and sharing it. So, grab those ingredients and start your ice cream cake adventure today!
Recipe Card
Copycat Dairy Queen Ice Cream Cake Recipe
Ingredients
Method
- Prepare the Crust: In a mixing bowl, combine the crushed chocolate sandwich cookies and melted butter.
- Mix until well combined.
- Press the mixture firmly into the bottom of a 9-inch springform pan to form the crust.
- Layer Vanilla Ice Cream: Spread the softened vanilla ice cream over the cookie crust, smoothing it out evenly.
- Place the pan in the freezer for about 1 hour to firm up.
- Layer Chocolate Ice Cream: Once the vanilla layer is firm, spread the softened chocolate ice cream over the vanilla layer.
- Return the pan to the freezer for another hour.
- Add Whipped Topping: After the chocolate layer is firm, spread the thawed whipped topping over the chocolate ice cream layer.
- Smooth it out and decorate with chocolate syrup and sprinkles if desired.
- Freeze: Cover the cake with plastic wrap and freeze for at least 2-4 hours, or until completely set.
- Serve: When ready to serve, remove the cake from the springform pan, slice, and enjoy!